How to add a chatbot to WordPress, Wix, Webflow and more
By the Chatbait team ·
Short answer: every platform below lets you paste one line of script code into a settings page, no coding beyond copy and paste. The menu names differ, but the idea is the same everywhere: find the "custom code" setting, paste the snippet, save, then check your site to confirm the chat bubble shows up.
Steps checked against each platform's own help pages on October 18, 2026.
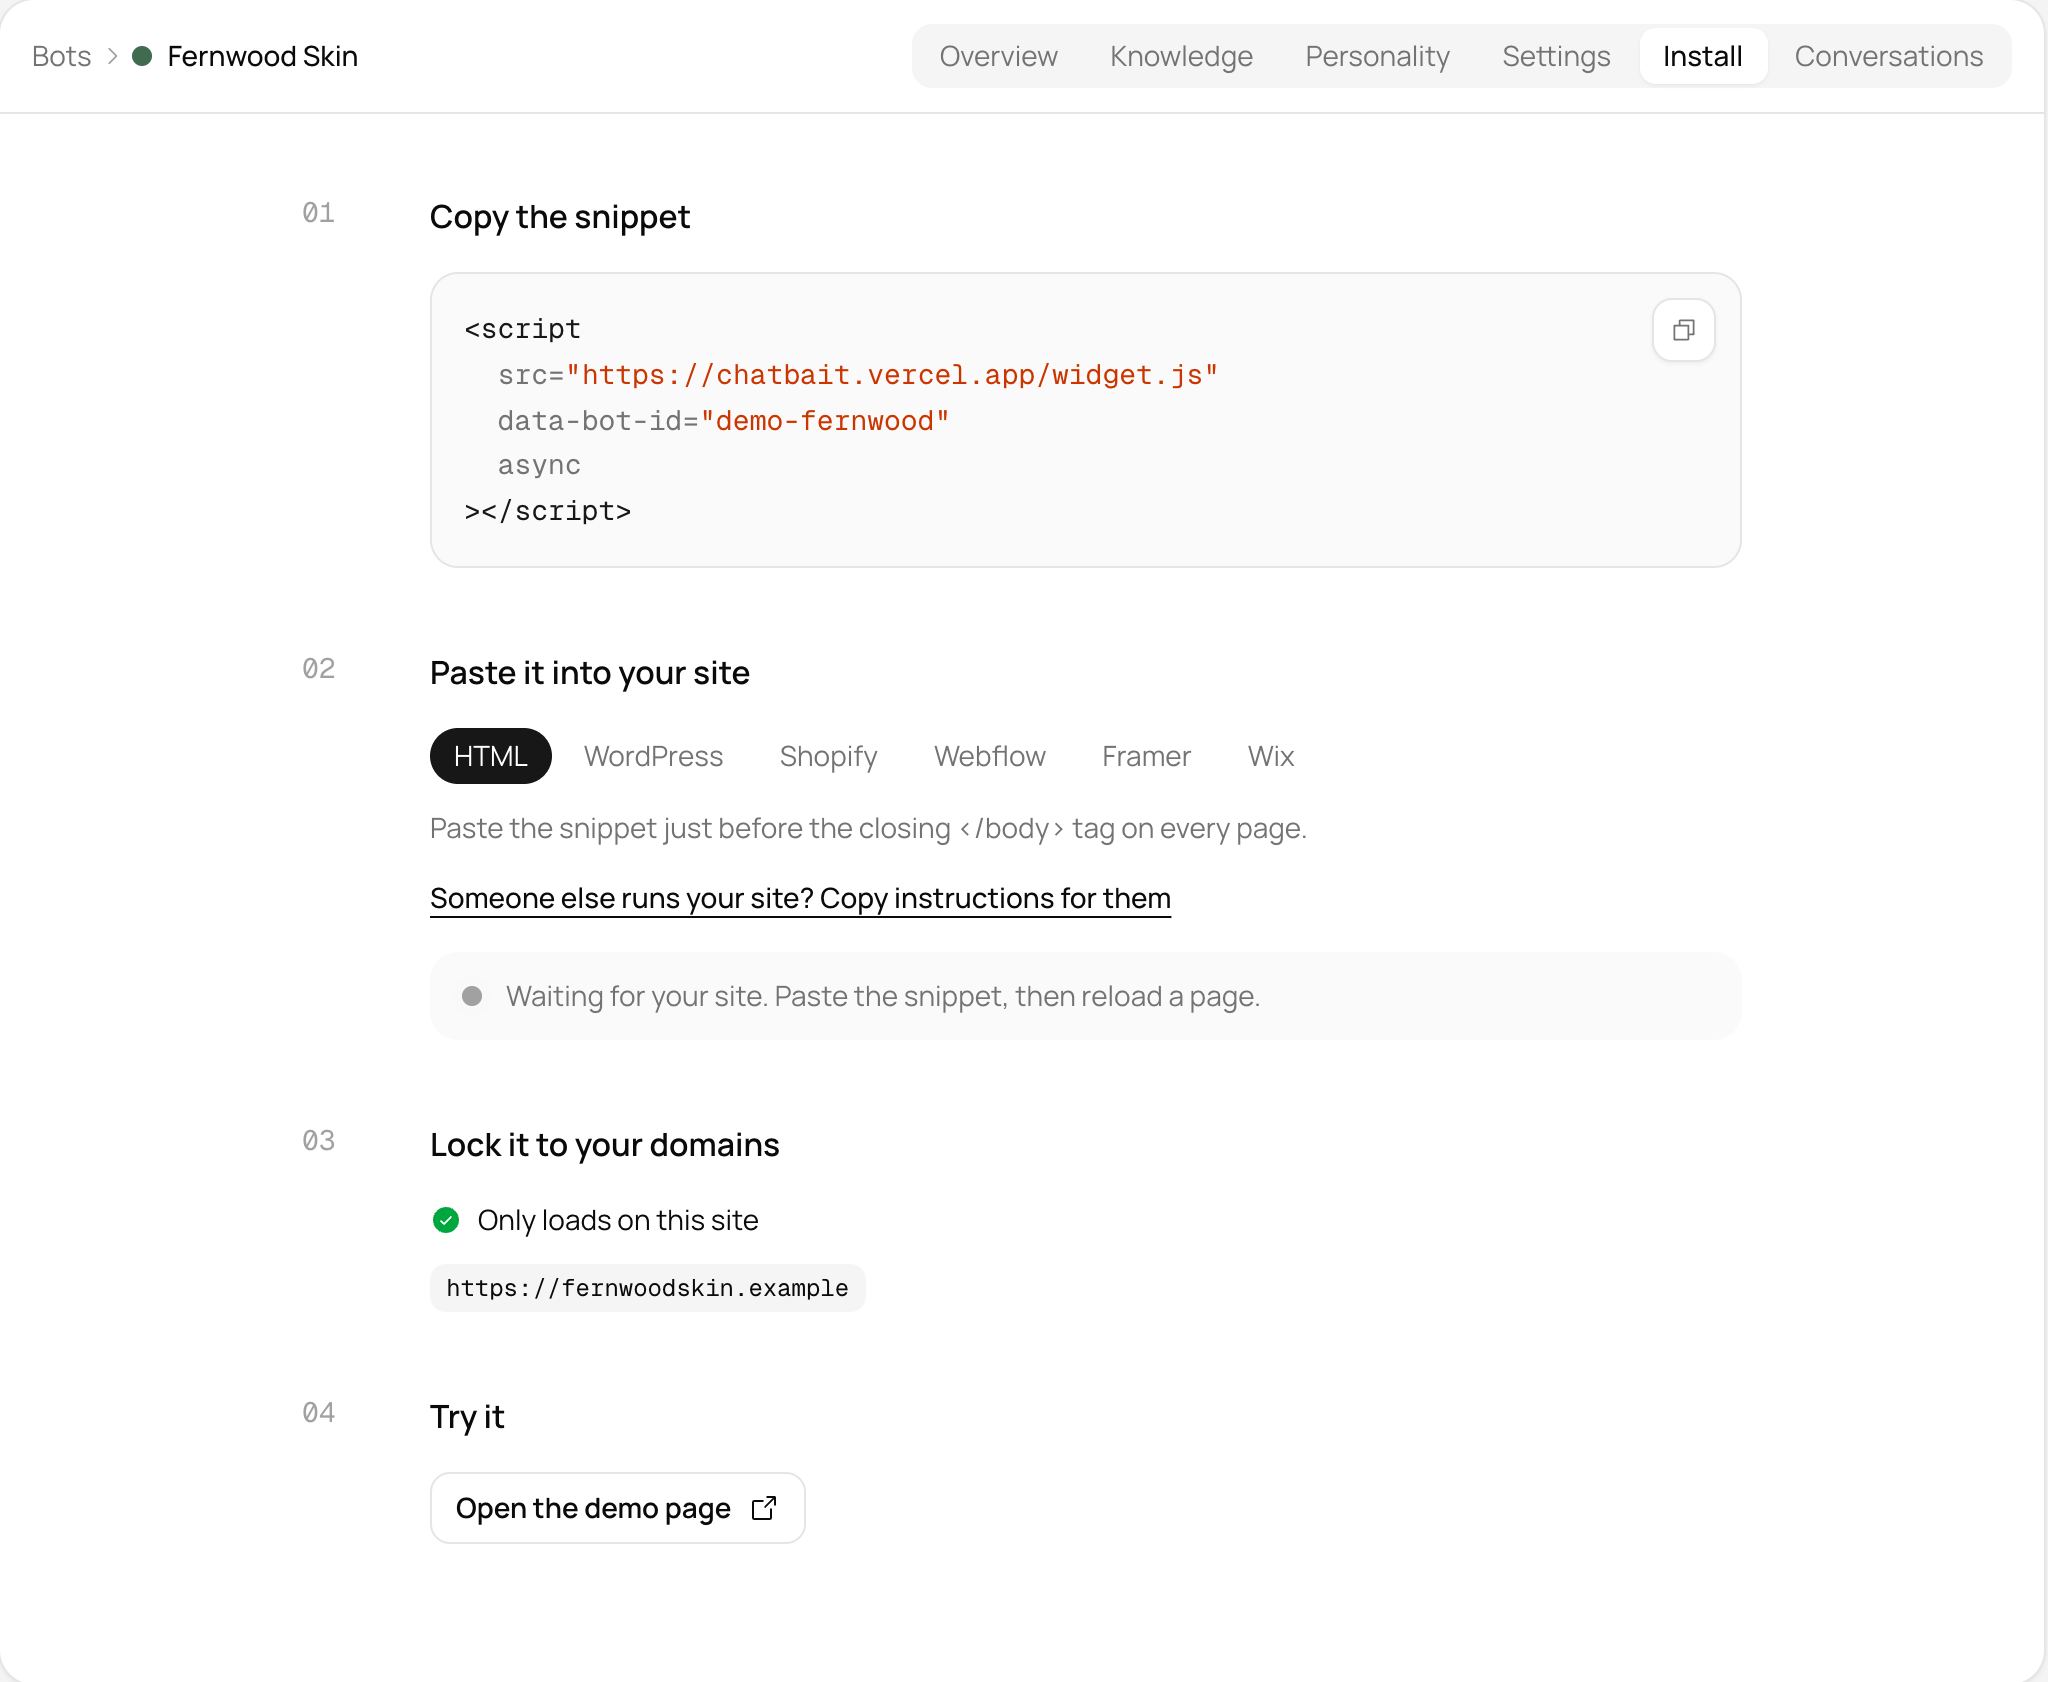 Chatbait's Install page, showing the one line script snippet, platform tabs for HTML, WordPress, Shopify, Webflow, Framer and Wix, and the option to lock it to your domains
WordPress
The easiest way is a plugin called WPCode ("Insert Headers and Footers"), which adds code to your site's footer without touching any theme files. That matters because editing theme files directly can break when the theme updates; WPCode's footer code survives those updates.
- In your WordPress dashboard, go to Plugins > Add New.
- Search for WPCode (or "Insert Headers and Footers") and install it.
- Open the plugin, paste your chatbot's script into the footer code box.
- Save.
Wix
- Go to Settings.
- Find Custom Code under Development & integrations.
- Click + Add Custom Code and paste your script.
- Your site must already be published and have a connected domain for this to work, so publish first if you haven't.
Webflow
- Go to Site settings.
- Open Custom code.
- Paste your script into the Footer code box.
- Save and republish your site (Webflow settings changes don't always go live until you publish again).
A note on plans: we couldn't confirm whether custom code needs a paid site plan on Webflow. Check your plan on Webflow's pricing page before assuming it's included.
Framer
- Open Project Settings.
- Find Custom Code.
- Add your script and choose end of body as the placement.
- Publish your site.
A note on plans: Framer's plan requirements for custom code weren't confirmed for this guide, so check your plan before you start.
Squarespace
- Go to Settings > Advanced > Code Injection.
- Paste your script into the Footer box.
- Save.
Code Injection is available on Squarespace's Core, Plus and Advanced plans, and some older legacy plans, but not on the entry level plan. Check your plan if you don't see Code Injection in your settings.
BigCommerce
- Go to Storefront > Script Manager.
- Add a new script and paste your chatbot's code in.
- Save.
One table for all of them
| Platform | Where to paste the script | Plan note |
|---|---|---|
| WordPress | WPCode plugin, footer code box | Free plugin works on any plan |
| Wix | Settings > Custom Code > + Add Custom Code | Site must be published with a connected domain |
| Webflow | Site settings > Custom code > Footer code | May need a paid plan; check yours |
| Framer | Project Settings > Custom Code, end of body | May need a paid plan; check yours |
| Squarespace | Settings > Advanced > Code Injection, footer | Needs Core, Plus, Advanced or some legacy plans, not the entry plan |
| BigCommerce | Storefront > Script Manager | No plan note confirmed |
How to check it worked
Open your live site in a normal browser tab, not a preview or editor view. Look for the chat bubble, usually in a bottom corner, and ask it a real question. If your chatbot has a dashboard showing conversations, check the test message appears there.
- 1
Reads your pages
Products, FAQ, shipping, returns, about.
- 2
A shopper asks
“Do you ship to Ireland?”
- 3
Finds it on your site
Answers in your words, any hour.
- 4
Not on your site?
Says so, and gives your contact details.
Common mistakes on any platform
- Forgetting to republish. Wix, Webflow and Framer all need the site published again after you add custom code; saving the setting alone isn't always enough.
- Pasting into the header instead of the footer. Most platforms ask for footer or "end of body" placement. A script in the wrong spot can fail silently or slow down page loading.
- Not checking your plan first. Squarespace's entry plan doesn't include Code Injection, and Webflow and Framer's plan requirements weren't confirmed for this guide, so check before you spend time setting it up.
- Testing in the editor, not the live site. Some platforms don't run custom code inside their own preview or editor view, so always check the real, published page.
Why a lock to your own domain matters
Whatever chatbot you add, check whether it can be locked to your own domains. That stops someone from copying your script and running your chatbot on a different site. Chatbait's install page, shown above, includes this option alongside the platform specific snippets.
Frequently asked questions
Do I need a developer to add a chatbot script to my website?
No, on every platform here it's copy and paste into a settings page. No coding knowledge beyond finding the right menu is needed.
Why doesn't the chat bubble show up after I paste the script?
The most common reasons: the site wasn't republished or saved after adding the code, the script was pasted into the wrong box (header instead of footer, or vice versa), or on Wix, the site isn't published with a connected domain yet.
Does Squarespace's cheapest plan support custom code?
No. Code Injection is available on Core, Plus, Advanced and some legacy plans, but not on Squarespace's entry level plan.
Can I use the same script on Webflow and Framer without changes?
Usually yes, since both just need the script pasted before the closing body tag. Just check your plan supports custom code first, since that wasn't confirmed for either platform in this guide.
Get the template pack by email, plus new templates when we add them.
We'll email you the template pack and new templates now and then. Unsubscribe any time. Privacy.